A metal roof is a major home improvement project that can add durability, longevity, and functionality to your home. In Finish Line Construction & Roofing, many homeowners will seek the basics of DIY installation of a metal roof, with regard to the tools, materials, and methods that will be necessary. In this guide, you will learn the DIY metal roof installation and the importance of metal roofing for your home.
Installing a Metal Roof: A DIY Step-by-Step Process
The metal roof installation is a process that requires proper preparation, the right tools, and knowledge of every step. Through a step-by-step procedure, homeowners can achieve a secure and durable roof that looks impressive in different weather conditions.
Keep reading to know the step-by-step guide for metal roof installation:
- Step 1: Gather Tools and Materials
For a successful metal roof installation in West Salem, OH, you will need the necessary tools to start your project, such as metal snips, a drill, a hammer, a chalk line, gloves, and a safety harness. Roofing materials will also be required, including panels, fasteners, underlayment, flashing, and ridge caps.
- Step 2: Remove Old Roofing
The first stage in a metal roof installation is to remove old shingles or damaged roofing material to create a clean, smooth surface for the metal panels. This step helps prevent future moisture problems and ensures all roofing components adhere properly.
- Step 3: Install Underlayment
In a metal roof installation, underlayment is a crucial layer for moisture protection under your metal roofing. Roll it carefully across the roof surface, ensuring it is even, and fasten it according to the manufacturer’s instructions. This significantly enhances the roof’s insulation, helping maintain a consistent indoor temperature throughout the year.
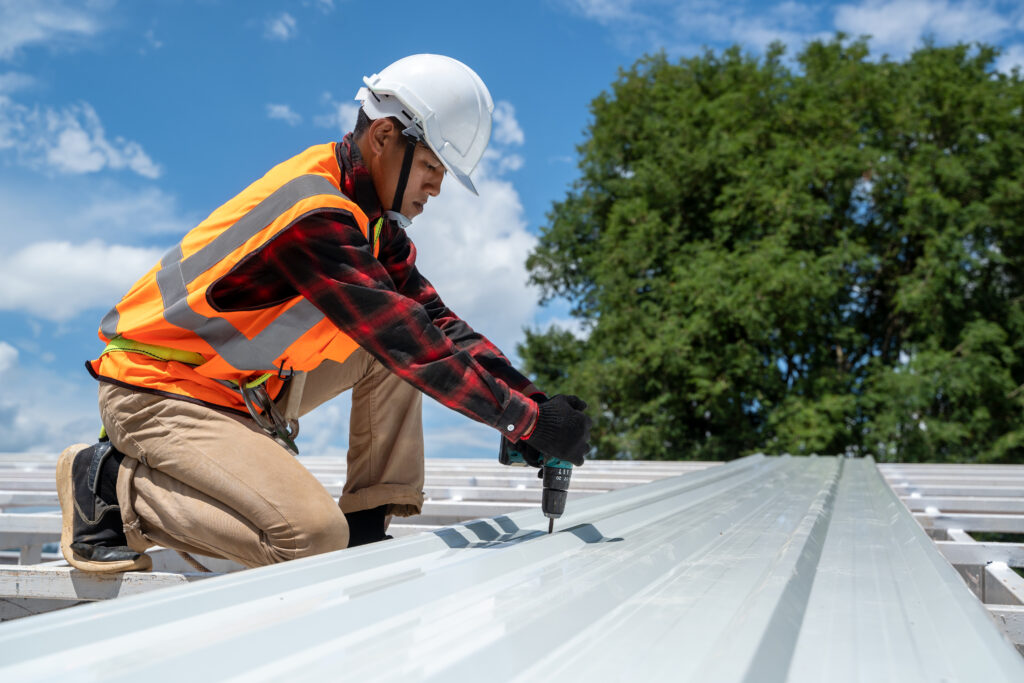
- Step 4: Position & Secure Metal Panels
During a metal roof installation, lock all the panels according to the manufacturer’s instructions, and use screws with rubber washers as recommended for the metal roofing. Proper alignment ensures a leak-free roof while giving it an even, professional appearance.
- Step 5: Install Flashing & Trim
In a metal roof installation, flashing should be installed around chimneys, vents, and skylights to prevent water penetration in vulnerable areas. Wood trim is used to support edges and corners while providing a polished, finished look. These elements are essential for sealing the roof and protecting your home’s structure from weather-related damage.
- Step 6: Attach Ridge Caps
The final step in a metal roof installation is the addition of ridge caps, which cover the peak of the roof to complete the roofing system. Ridge caps also improve ventilation, allowing warm air to escape from the attic and maintain a balanced indoor temperature.
Metal Roofing 101: Essential Benefits to Know
To figure out why metal roofing is such a reliable option among those who want to remodel their homes, it is important to know the reason behind metal roofing’s popularity.
Keep reading to unlock the pros of metal roofing:
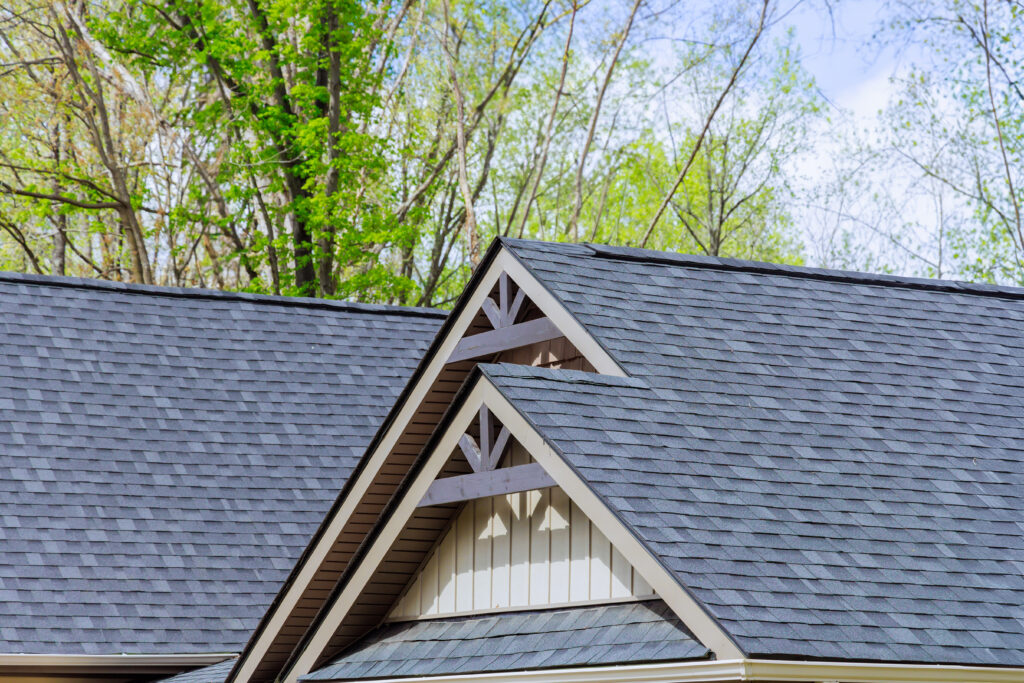
- Longevity and Durability
A properly executed metal roof installation results in a roof with exceptional longevity, often lasting between 40 to 70 years depending on the type of metal used. Metal roofs provide a superior alternative to asphalt shingles, offering greater resistance to cracking, shrinking, and erosion.
- High Quality Weather Resistance.
A proper metal roof installation ensures your roof can withstand extreme weather conditions, including heavy snow, strong winds, and hail. Most metal roofs are certified to resist wind speeds of up to 140 miles per hour, offering excellent protection and safety during storms.
- Energy Efficiency
A professional metal roof installation ensures your roof can reflect solar heat, naturally lowering indoor temperatures during warmer seasons. This reflective property reduces the load on cooling systems, leading to noticeable energy savings on annual utility bills.
- Low Maintenance
A proper metal roof installation provides the added benefit of very low maintenance. Unlike traditional shingles that can crack, warp, or develop moss, metal roofs typically only require occasional washing and a few basic inspections to remain in excellent condition.
Conclusion
In conclusion, the installation of a metal roof as a DIY project is not only possible but also very rewarding for homeowners who have the right knowledge and tools. Metal roofs provide long-lasting advantages, including extraordinary durability, resistance to weather conditions, savings on energy bills, and very little maintenance. Remember to put safety, accuracy, and following the manufacturer’s guidelines first if you want to achieve the best results, thus making your roofing dream a reality that is worth the effort.
FAQs
Can I install a metal roof myself?
Yes, it’s possible for experienced DIYers, but it requires proper tools, safety precautions, and understanding of metal roofing techniques.
What tools do I need for DIY metal roof installation?
Essential tools include a metal snip, drill, screw gun, tape measure, chalk line, safety harness, and protective gloves and eyewear.
What are the common challenges of installing a metal roof?
Challenges include handling heavy panels, ensuring proper alignment, avoiding scratching the metal, and sealing edges to prevent leaks.
How long does it take to install a DIY metal roof?
Time depends on roof size, complexity, and experience; a typical residential roof may take several days to a week.
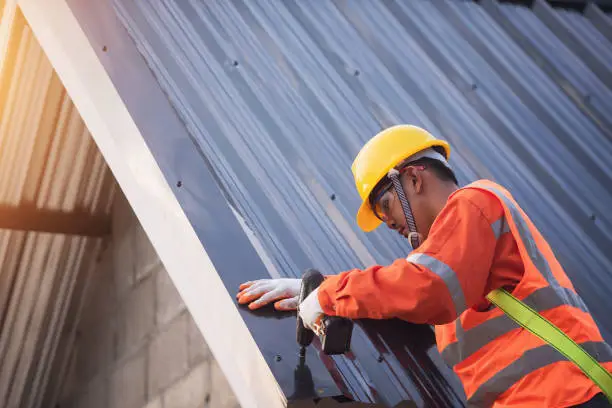
What safety precautions should I take during installation?
Use fall protection, gloves, eye protection, proper footwear, and be cautious when cutting and handling sharp metal panels.